Hot Quilting Posts

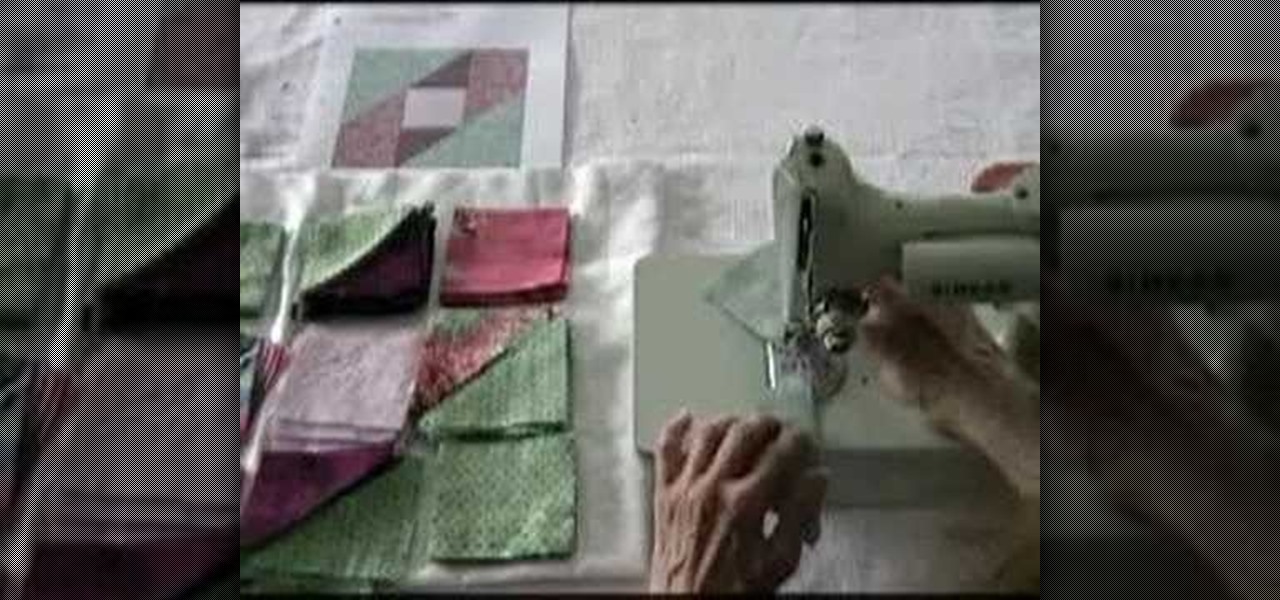
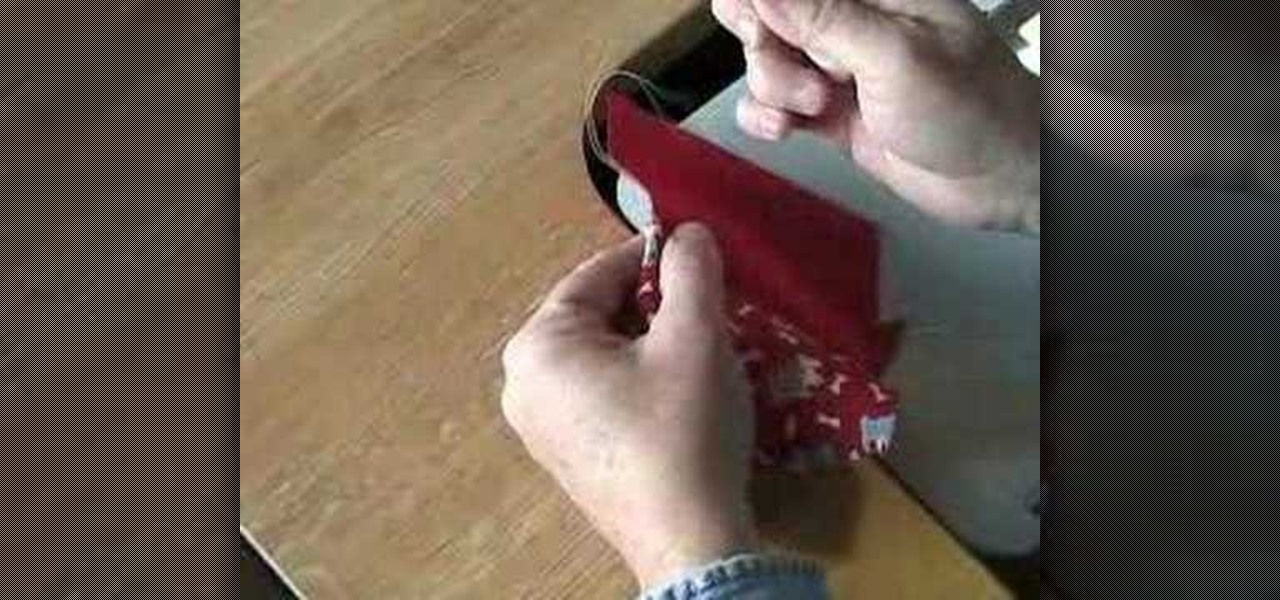
How To: Chain sew patches in quilt blocks
See exactly how to chain sew half square triangles to make a quilt block. When you have a large number of quilting block you may find that they don't line up exactly. Watch this instructional quilting video to several quilting patches together at once, in a chain formation.
How To: Line up your quilting fabric for a straight cut
See how to line up the selvedge edges of your fabric so you cut straight strips every time. Complicated quilts require almost every piece of fabric to have precise dimensions to fulfill an exact geometric purpose in the quilt design. Watch this instructional quilting video to hang your fabric as a way of measuring and folding your fabric for cutting.
How To: Use a rotary cutter for right handed quilting
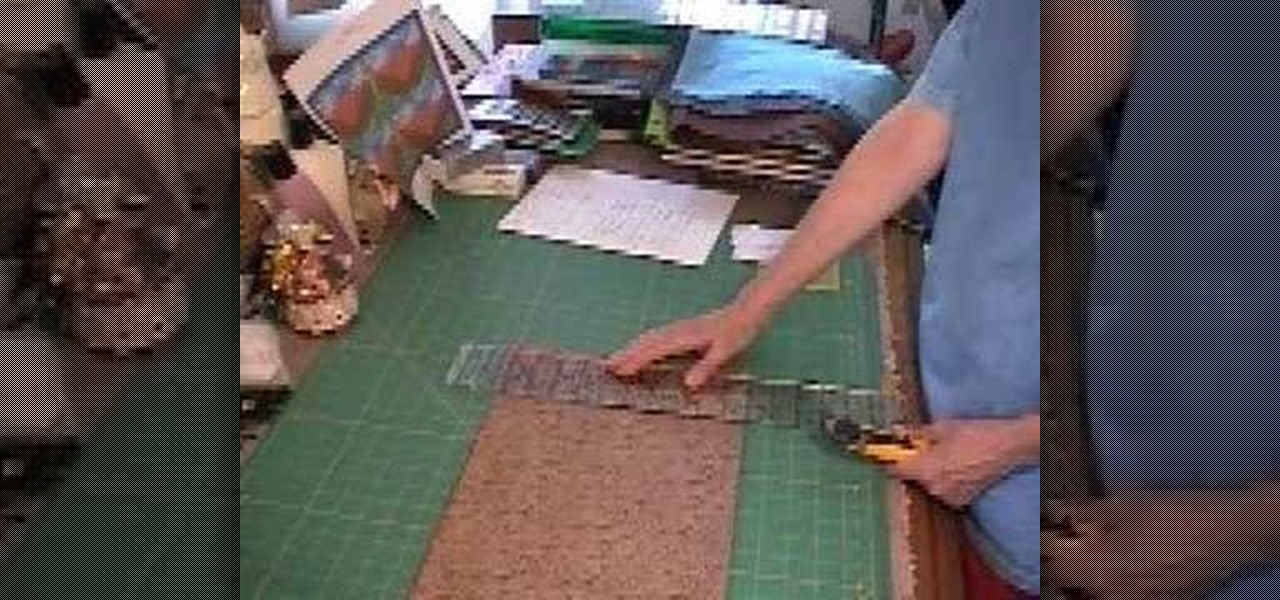
Watch an experienced quilter glide through four layers of fabric to make a clean cut with a rotary cutter. This instructional quilting video shows how a right handed person would cut fabric. You will also need a straight edge and a cutting mat in addition to a rotary cutter in order to make straight cut in quilting fabric.
How To: Miter a corner on quilt binding
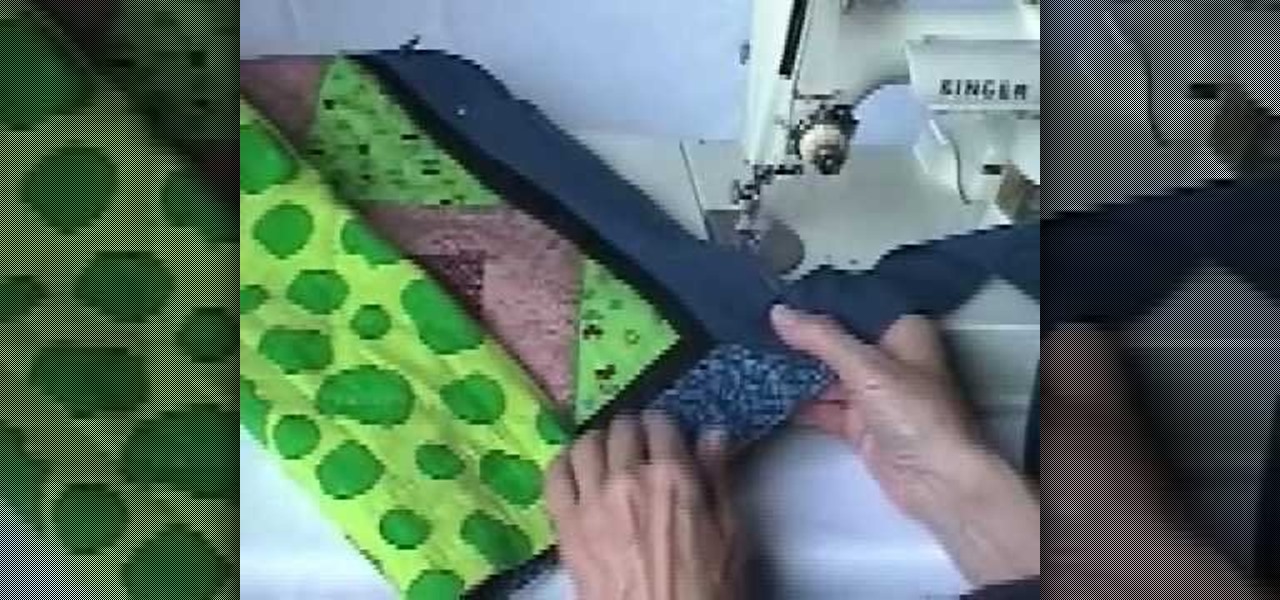
Watch an experienced quilter show a quick and easy way to miter the corner on the binding of a quilt. Quilting is a precise craft, but a mitered corner works best with a some accurate estimation. Follow this two step process to sew a neat and sturdy corner on quilt binding.
How To: Outline appliques with mono filament thread
These two quilting how to videos demonstrate how to outline applique with monofilament thread using a longarm. Use matching thread to outline the figures or make them stand out with a contrastign color.
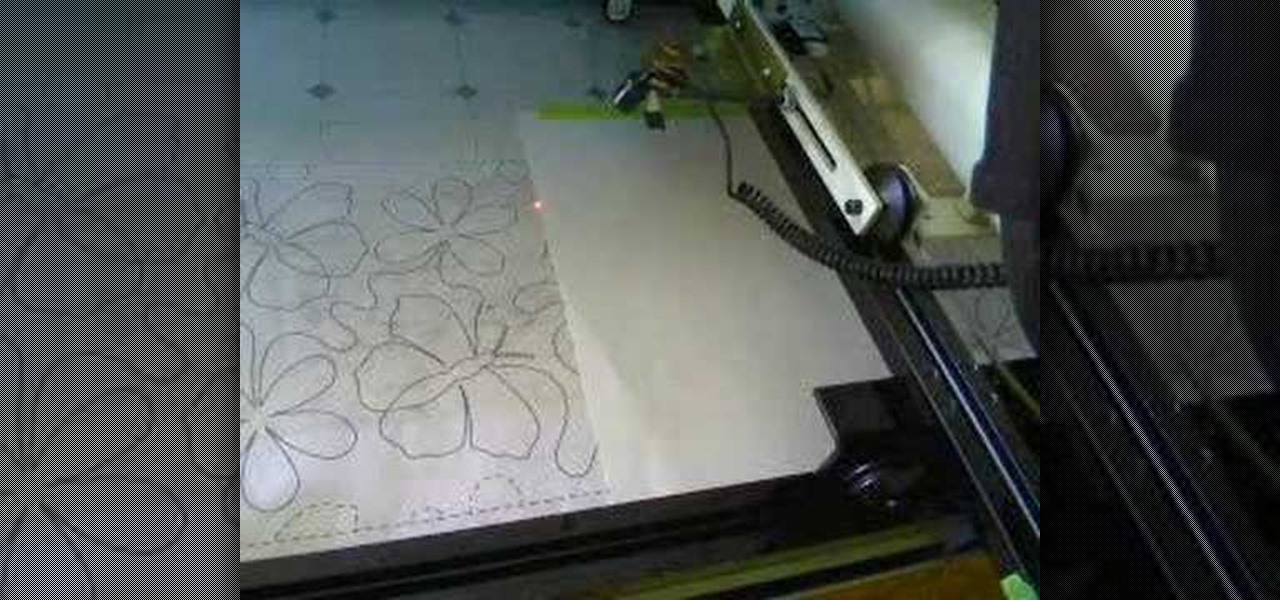
How To: Get tips for lining up a panto in quilting
These four quilting how to videos demonstrate the proper way to line up a panto. Watch and learn how easy it is. In addition to getting tips for lining up pantos, our host also gives you more tips for quilting.
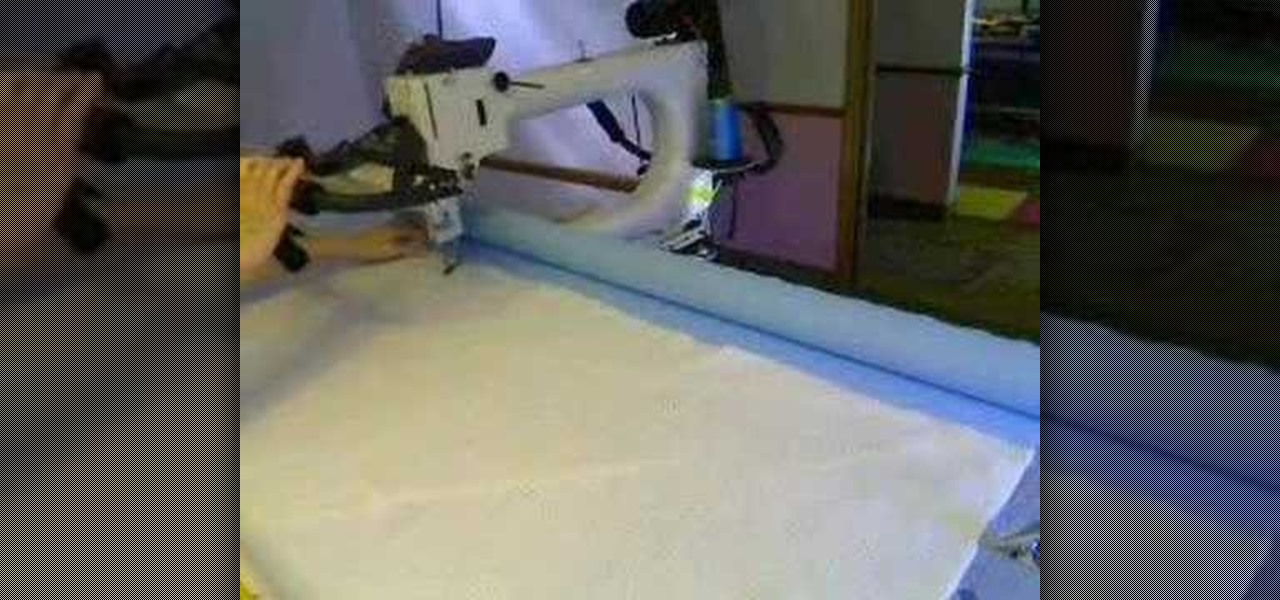
How To: Mount a quilt top
These two quilting how to videos demonstrate the proper way to mount a quilt top. Watch and learn as our host shows you tips and tricks not only for mounting the quilt top but for quilting in general.
How To: Use advanced quilting techniques
Advanced quilting tips. Learn expert techniques on how to quilt in this free crafts video from our experienced quilter.
How To: Make a family quilt
Are you interested in creating something special that you can pass down to your child? Learn how to make a family quilt in this free home decor video series.

How To: Make a quilt
Braiding, cutting, binding and piercing are all activities that are necessary for quilting. Learn more about how to create your own quilt in this free video series.
How To: Sew a quilt pattern
Lessons for making a quilt pattern. Learn how to sew a basic quilting pattern in this free quilting lesson from an expert quilter and sewing class instructor.
How To: Make a rag denim quilt
Make a cascading brick denim quilt out of household rags. Learn how to make a rag denim quilt in this free quilting lesson from an expert quilter and sewing class instructor.

How To: Quilt mitered corners
Here's a new way to look at making perfect mitered corners the first time, every time. This instructional quilting video demonstrates how to sew consistent mitered corners on your quilts in a few steps. Use a "Minute Miter" tool to hold the fabric in place. Learn why this seamstress says, "no snouts allowed."

How To: Quilt a wide binding
Watch this instructional quilting video to sew a wide binding on your quilt. A 3" binding is recommended when you're learning to use these tools but after that you can create wider & narrower bindings. Here's info for wider bindings.

How To: Adjust your zip bind tool
Watch this instructional quilting video to adjust the "Zip Bind Tool" by a small amount. The zip bind tool allows you to sew straight binding on your quilt without using a lot of measurements and pinning. Adjust the Zip Bind Tool 'a hair, a smidge, a scant, a skosh, a wee bit' for stitching in the ditch.
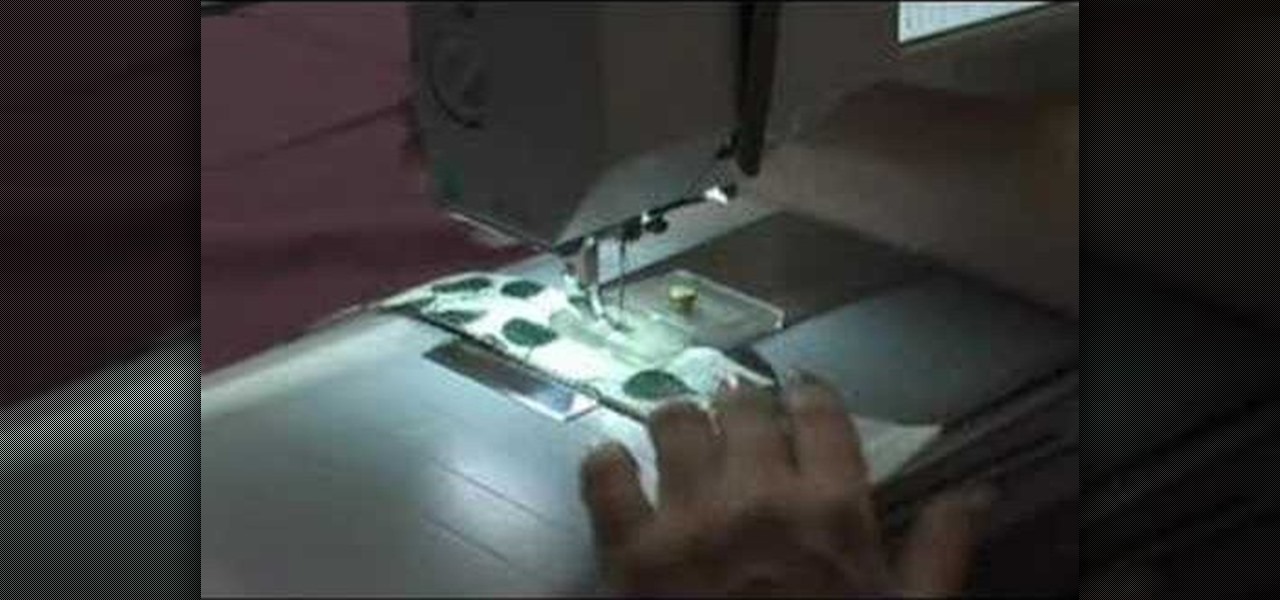
How To: Quilt quarter inch piecing
Watch this instructional quilting video to sew quarter inch piecing on your quilt. Use "Martelli's Stitch in the Ditch Binding Foot" as a 1/4 inch piecing foot. This allows you to sew straight lines on several layers of quilted fabric.

How To: Quilt a narrow binding
Watch this instructional quilting video to sew a narrow binding on your quilt. The "Zip Bind Tool" and the "Stitch in the Ditch Binding Foot" help with sewing narrow bindings. It important to know how to use the zip bind tool properly before beginning this quilting project.

How To: Quilt with different binding widths
Watch this instructional quilting video to quilt different widths of binding. It's recommended that you start with three inches of binding. You can use three zip bind tools to complete this quilting tutorial. You should leave at least a 3/8 inch of extra fabric for seam allowance on quilt binding.
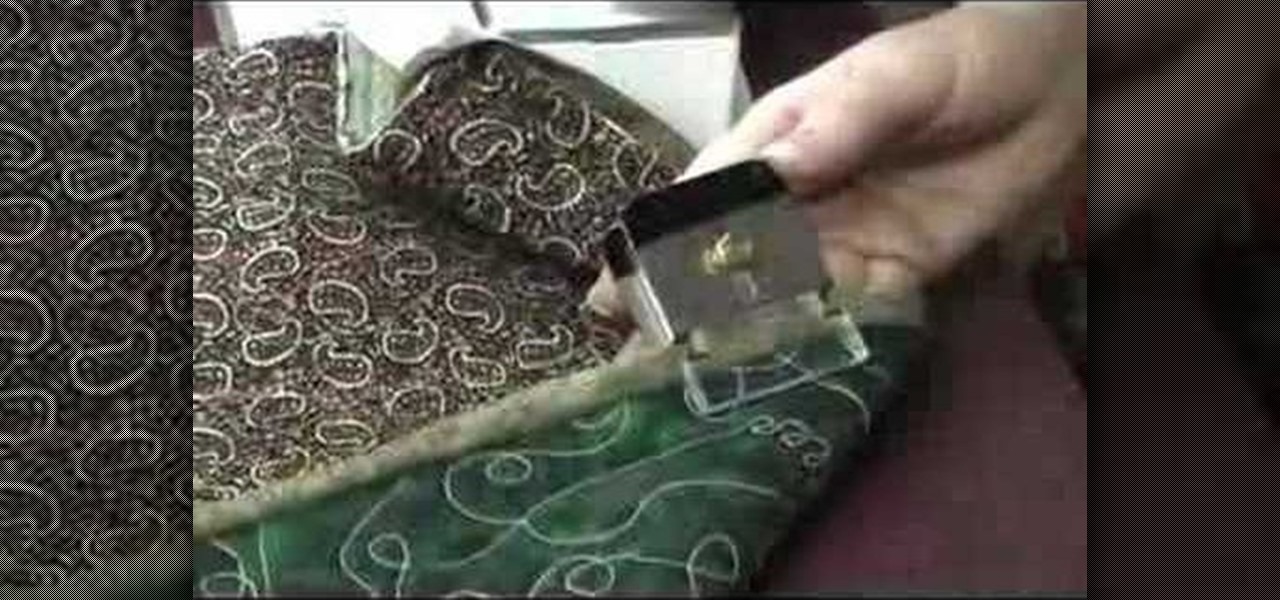
How To: Stitch in the ditch to sew binding on a quilt
Get started with stitching in the ditch by attaching the "Zip Bind Tool" and mitering the 1st corner with the "Minute Miter." This instructional quilting video demonstrates how to sew a neat binding onto your quilt using a few innovative tools.

How To: Use a zip bind tool for a quilt
Use these tips to learn how to adjust the "Zip Bind Tool" for your binding width. The zip bind tool will allow you to keep perfectly even bindings from start to finish without using a ruler or doing a lot of measuring. Sewing a neat binding can be one of the most difficult challenges in beginning quilting. Here are two tips for using your zip bind tool correctly.

How To: Avoid square backings on a quilt
Watch this video tutorial to learn how to bypass the cumbersome process of making squaring backings for your quilts. This is an attempt to show you how and why you may never want to make a perfect square backing for your longarm sewing machine again.
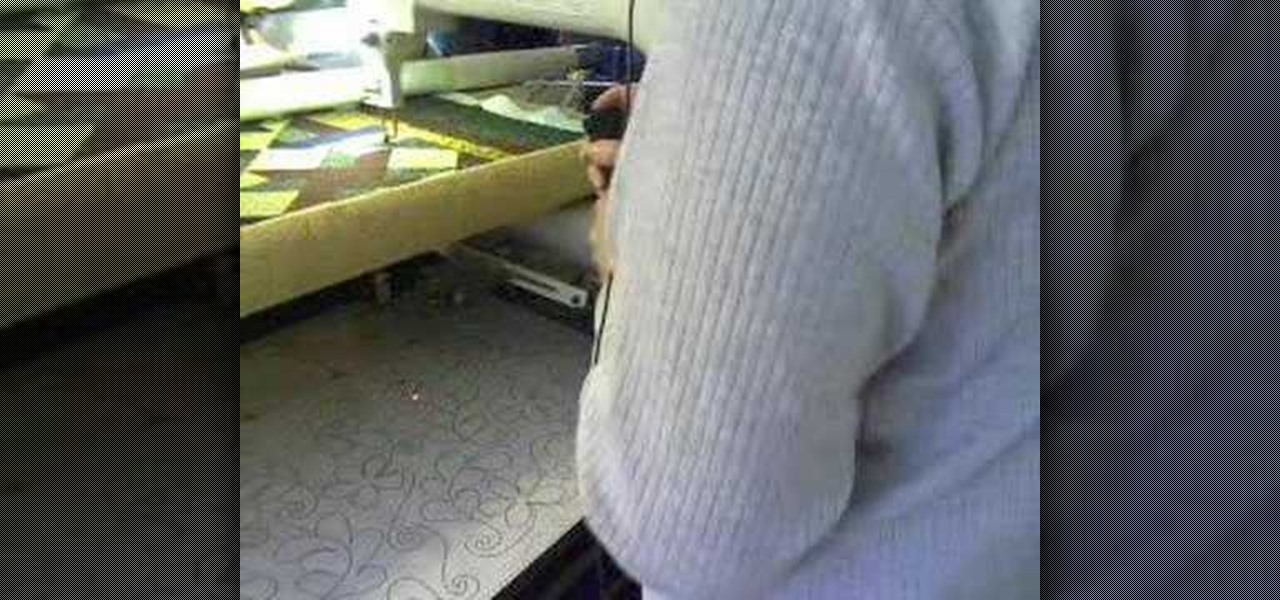
How To: Stitch pantographs with a longarm sewing machine
Watch this instructional quilting video to quilt a pantograph pattern with a longarm sewing machine. A pantograph is a mechanical linkage connected in a special manner so that the movement of one specified point is an amplified version of the movement of another point. If a a line drawing is traced by the first point, an enlarged copy will be drawn by a pen fixed to the other. Take note of the proper way to stand and move one's body when stitching out pantographs. It's best not to move one's ...

How To: Quilt a tendril or "C" background fill on a longarm
Watch this instructional quilting video to quilt a tendril or "C" background fill with a longarm sewing machine. This pattern is a simple and convenient way to create an elegant background fill on many kinds of quilts. It helps to draw the tendril pattern with pen before trying it with the longarm sewing machine. Customers love it.
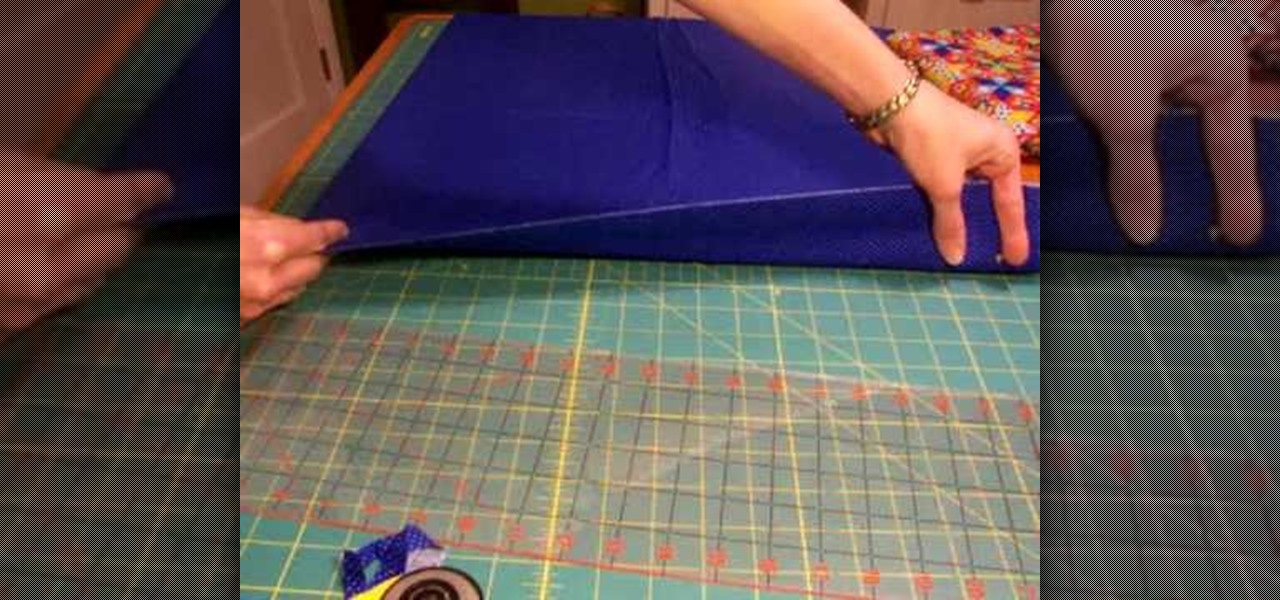
How To: Use a rotary cutter to cut strips for quilting
This instructional quilting video is perfect for those who have never used a rotary cutter. There are two main types of rotary cutters to choose from. You will also need a clear plastic cutting mat and a self healing mat on which to rest the fabric. The clear plastic guide and the mat below allow you to make straight, geometric slices of fabric.

How To: Quilt bias binding
This instructional video demonstrates how to quilt 5 yards of bias binding with a small amount of fabric. The secret of bias binding is to begin with a square that is sewn shut on all four sides, like a pillow. These simple guidelines show you some quick tips to make sewing binding fast and easy.
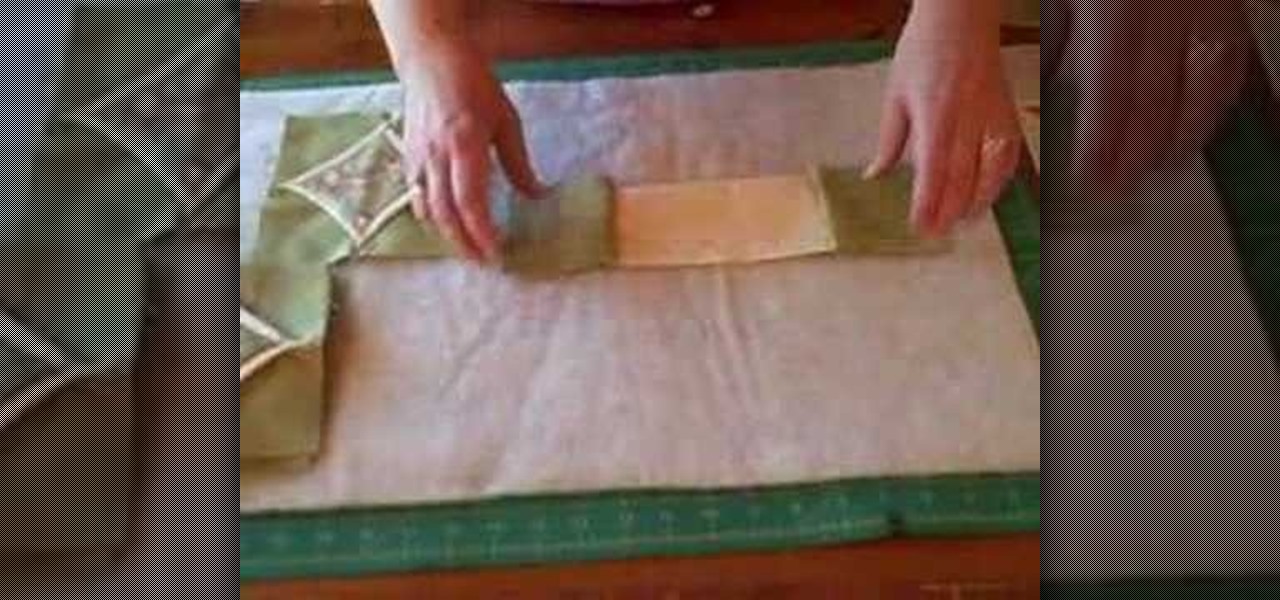
How To: Sew 3D faux cathedral window quilt blocks
Watch this instructional quilting video to sew three dimensional faux cathedral window quilting blocks. These easy to make blocks add great accents to any quilt. The cathedral window quilting block is actually made up of four smaller patches with another square sewn inside. The 3D effect requires some careful folding. Pin down the frame of the window to give it a curved edge. For the center patch you can use patterned fabric or a photograph.

How To: Quilt flying geese blocks
This video tutorial demonstrates how to make flying geese units using the "Quilt-in-a-day Flying Geese" ruler. These visual guidelines make it easy to sew a traditional quilting pattern. Using this quilting ruler, you can make four flying geese every time you align a 7 1/2 inch square with a 9 inch square.

How To: Quilt traditional half square triangles
This is a detailed explanation of the traditional method for making HST blocks, including the 7/8" formula. Half square triangles are simple design, but take some calculating to make precise.

How To: Sew quilting squares
Here is an easy way to make several small half and quarter triangle quilting squares. If you sew a small pillow pattern composed of larger half triangle designs, you can bisect the pillow diagonally in both directions to make four smaller quilting squares.
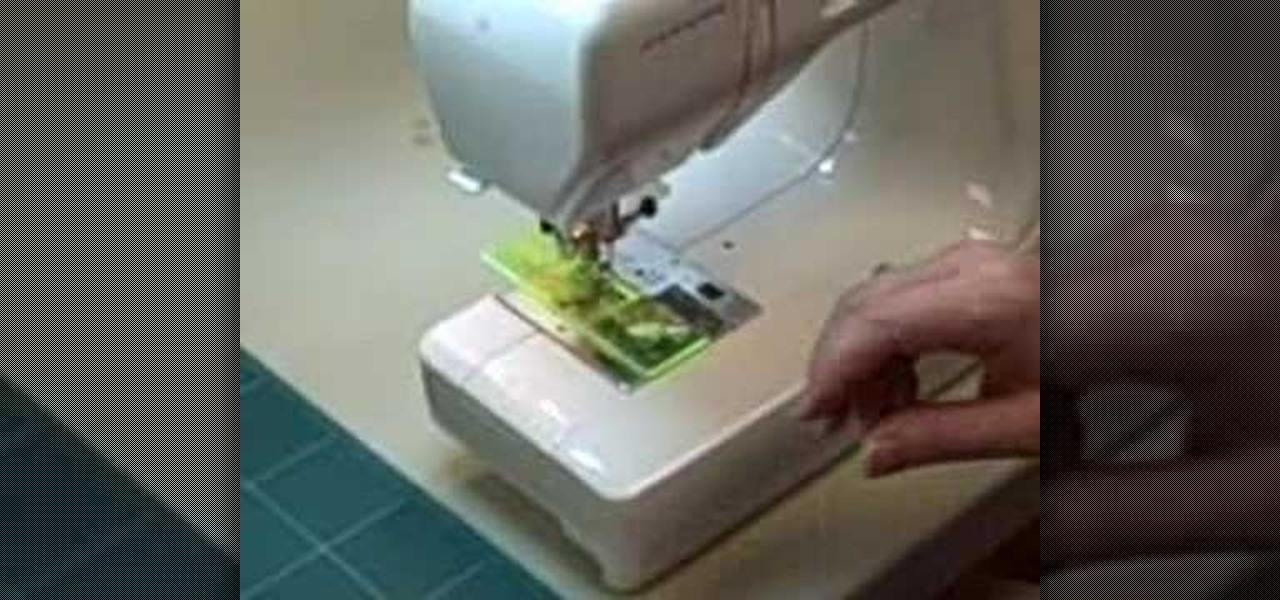
How To: Quilt with perfect seam allowance
Here is a tutorial on getting a perfect 1/4" seam allowance for quilt piecing. The sewing machine foot will sometimes have a groove to allow you to make a perfect quarter inch seam automatically. If you don't have one of these, there are a few ways to make your own quarter inch seam guide.

How To: Make quilting spools
Watch this instructional quilting video to chain stitch triangles of fabric together. as long as you remember to keep putting the same color of fabric on top as you connect your triangles, you'll be able to form a spool, or wheel pattern when you piece together your quilting square. This is a video clue in a quilt mystery.
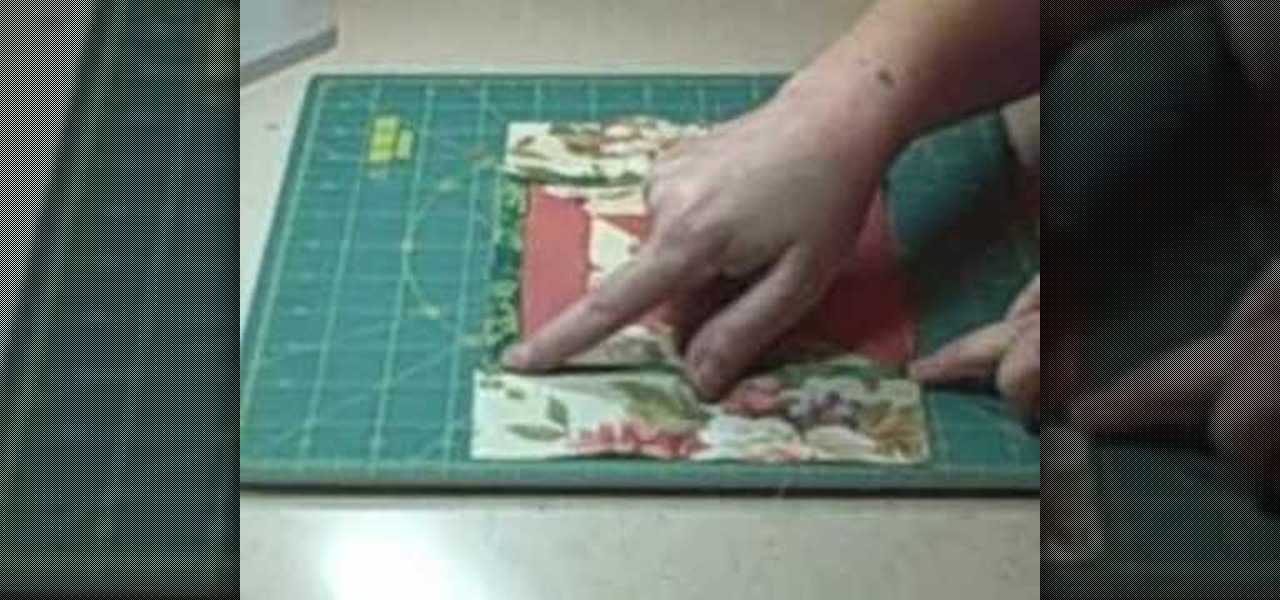
How To: Add a flange accent to your quilt
A quick tip on adding a flange accent to piece your quilt. A flange is a one inch strip of fabric that you fold in half and fit into the border to add a delicate accent to your quilt. This layout provides the groundwork for sewing flanges into a quilt.

How To: Quilt perfect borders
This video gives tips on how to add a border to a quilt so that it lays flat. The quilt block in the video is standing in for a full size quilt top to make it easier to see. Sewing borders on your quilt is one of the more difficult processes that go into sewing a traditional quilt.
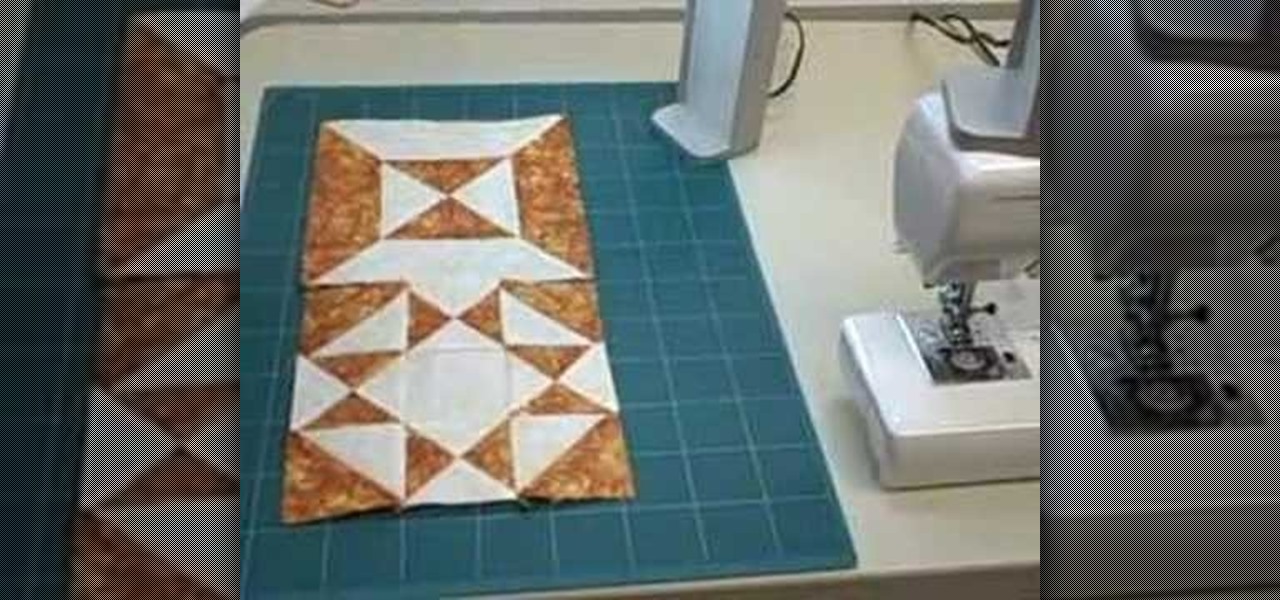
How To: Quilt squares together to make your own design
Here's how to play with blocks to make interesting designs with your quilts. One of the most enjoyable parts of quilting is arranging individual blocks to make improvised designs. Try designing some smaller block patterns and sewing them together in an unexpected pattern.
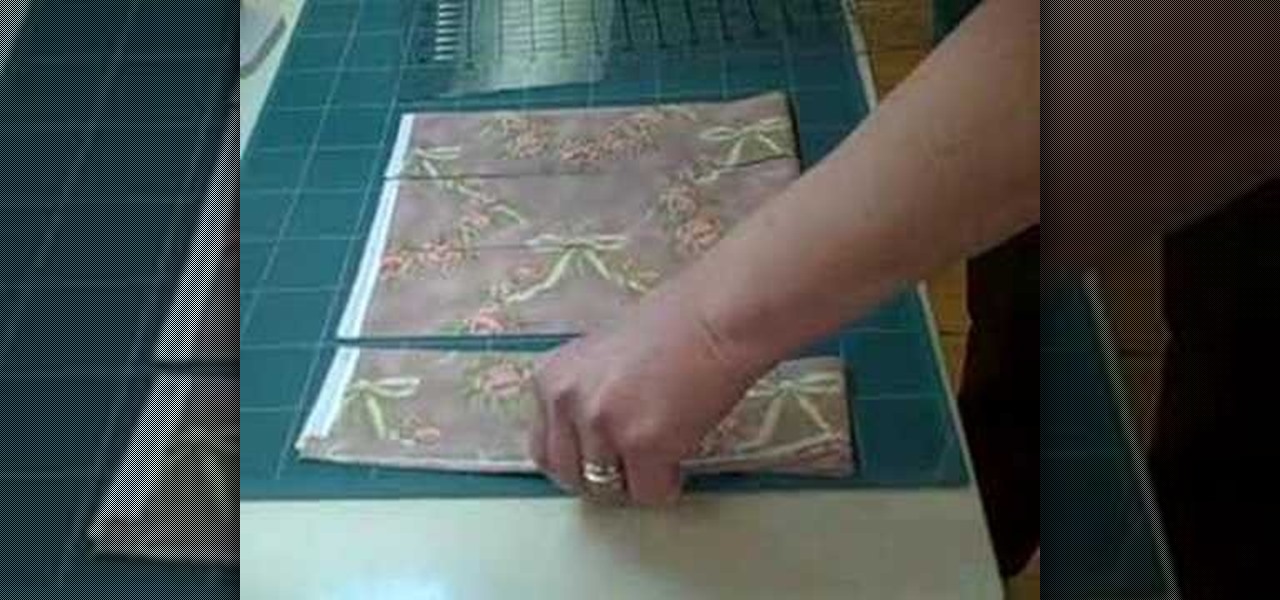
How To: Use a June Tailor Shape Cut ruler
Here is how to make strips and squares using the JT ShapeCut ruler. Follow these instructions to measure and cut a precise design. With the June Tailor Shape Cut ruler, you can lay a piece of fabric on a grid and slice the fabric into geometric squares.
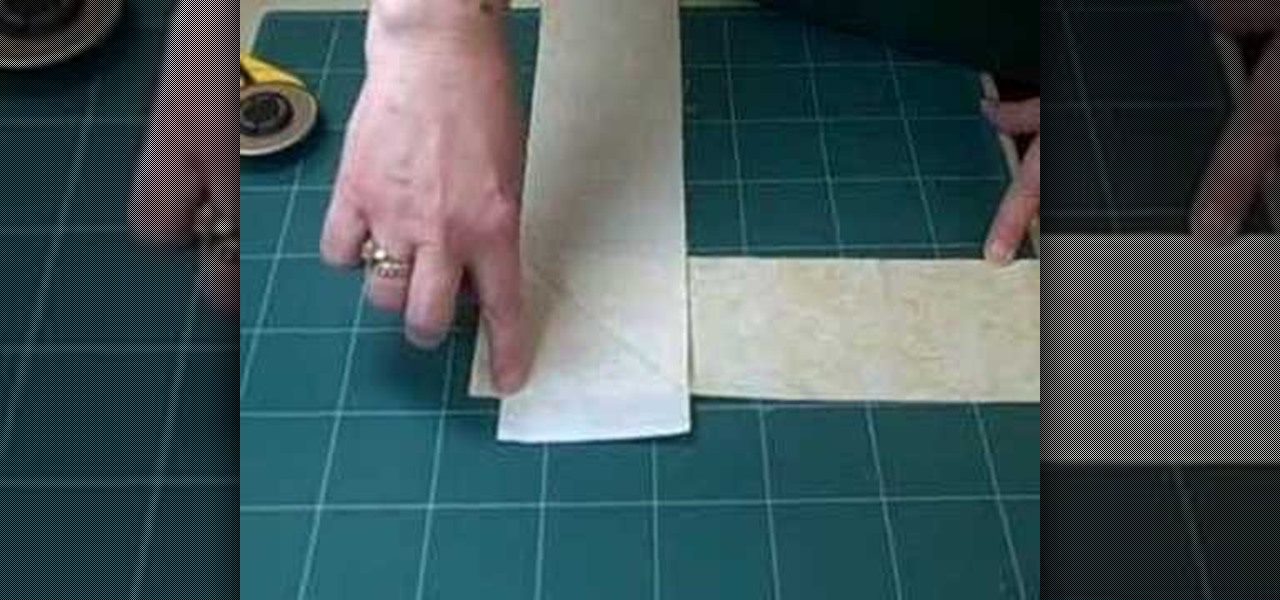
How To: Miter a seam
This is how to miter sew two strips of fabric together for an almost invisible seam. This short instructional video shows how to keep your sewing table neat, and your miter seams precise. Don't forget to iron the seam flat before moving on to make sure your design looks right.

How To: Set a seam
This is a dressmaker's tip called setting the seam, which helps you make crisp seams when sewing strips of fabric into sets. It help to dampen and iron a seam before moving onto the next sewing step. This helps your fabrics stay neat and regular.
How To: Finish irregular quilt edges
This tutorial demonstrates how to finish your quilt that has irregular edges using a facing instead of binding. Review this quilting instructional video to quilt a complex border finish. The facing method allows you to avoid mitering every corner.
How To: Bind fabric on a quilt
This quilting tutorial demonstrates how to easily join the ends of your quilt binding so that no one can tell the last seam from any other. Review this step by step process to avoid future difficulty when joining binding strips on your quilt. You don't need a ruler and you don't need to do a lot of measuring to try this quilting trick.
How To: Remove the paper from a paper piece quilt
This tutorial demonstrates how to remove the paper from the back of a paper (foundation) pieced quilt block. Paper piecing is a type of sewing that involves quilting onto a paper base. It is possible to remove the paper after completing the quilt.


